# Resume in Azure #03: HTML Site
I continue in this post the implementation of an Azure Static Website as part of the #CloudGuruChallenge. The deadline is set for the end of the month, where I have to have a site running in Azure with a visitor counter created using Azure Functions. This post I cover the creation of the HTML site without the visitor counter.
---
*These blog posts are a part of a series of my notes and experience during this challenge. I will have a final and detailed blog post which will be used as part of my submission for the challenge. *
---
## Clone GitHub Repo
I start with cloning the GitHub repo I created in my [last post](https://jamescook.dev/resumeinazure02-github-repository) where I can store the files I will be editing as part of the website. First I loaded my preferred code editor program, VS Code, as a new window. Here I am presented with the option to **Clone Repository**.
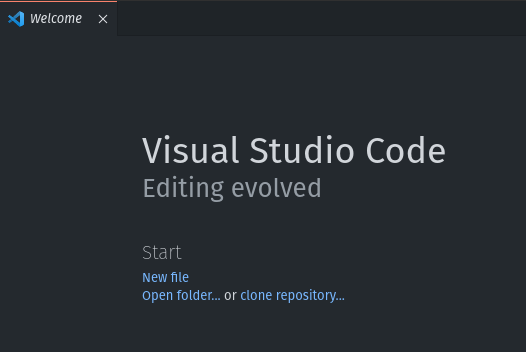
I selected this and was given an option to **Clone from GitHub** which I also selected.

Here I am given a list of repositories my GitHub account has access to. I select the repo for this project and select a location to store locally.
## HTML Site
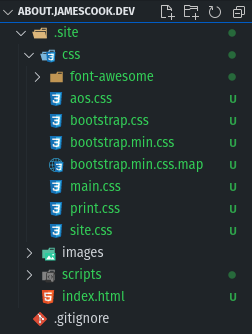
I am not a web developer, so I went by the suggestion of finding a free template online. Once I found one, I downloaded the contents and copied it into the local repository folder I cloned. I then started editing the site to represent my resume (CV), removing all the example text and images. I also duplicate or removed some of the features I didn't want to make it my own. To see the finish html site, click [here](https://github.com/Official-James/about.jamescook.dev/tree/main/.site).
## Commit and Push
Once I was happy the site was completed, I was ready to commit the changes and push them to the main branch of my repository. First I had to click the **plus symbol** at the top of the repo branch to select all files to stage the commit.
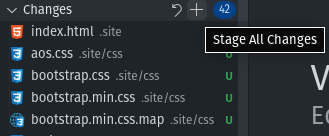
I then selected from the left side menu the **Source Control** function.

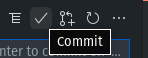
Here I then enter a commit message that represents what I have done and then select the **tick** button to complete commit.
Finally, I push the commit to my main repository by select the **push and pull** sync option at the bottom of the window.

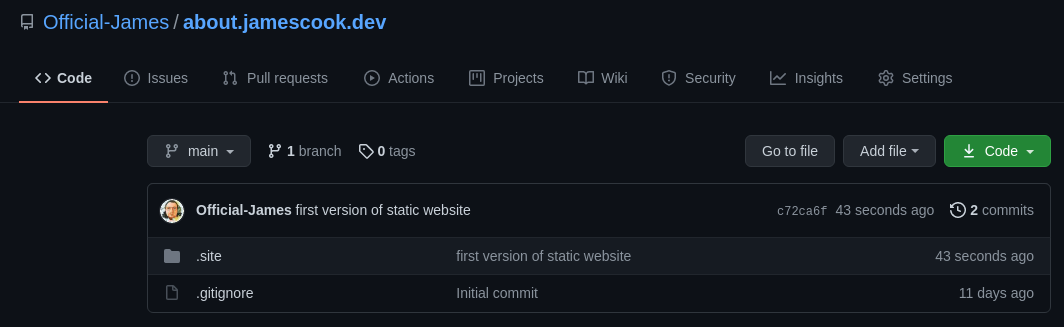
Now I have my HTML in the GitHub repository I created.
## What's Next
Next I will create the Terraform code that will represent the infrastructure that will be created for this static site to function. I will have to revisit this later to incorporate the visitor count.
%%[buymeacoffe-butyellow]