


In my last post on this challenge, I was planning and drafted what I was going to do for this. Now I need to move onto the first technical step which is to create a repository in GitHub. It is a very basic task but requires some considerations I need to review which I will share for full transparency.
These blog posts are a part of a series of my notes and experience during this challenge. I will have a final and detailed blog post which will be used as part of my submission for the challenge.
GitHub Account
I already have a GitHub account I use for small projects that I either fork repos to then commit to the original master or for local projects. When it comes to this project, I want to consider all security aspects to the GitHub account as there will be some type of link from the account to resources in my Azure environment.
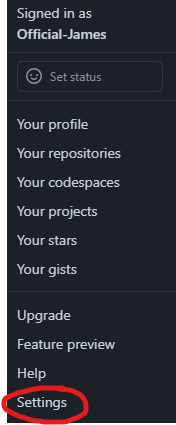
I first go into Settings by clicking the top right of my profile picture
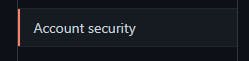
Once the page loads, I select Account Security from the side menu.
Here I can review all security aspects of my account security before creating the repository. Within the window, I can check to see if my password is long enough and if I should reset it to something stronger.

I am also able to check if I have at least one form of two factor authentication.

I took this opportunity to review all the sessions that I have used on device and revoke those who shouldn't or are no longer being used.

Repository Creation
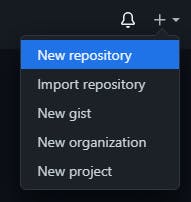
Once happy with the security of my account, I started with creating a repository by clicking on the + symbol next to my profile picture in the top right of the screen. Here I select New repository to start the creation of the repo.
The first field to complete is the name of the repo. I am going to use this as an replacement for my about me page (resume) so called the repo about.jamescook.dev. This name represents the domain and url to get to the static web page.

The next field is asking if I want to make the repo public or private. As part of this challenge the repository needs to be reviewed so I have made it public.

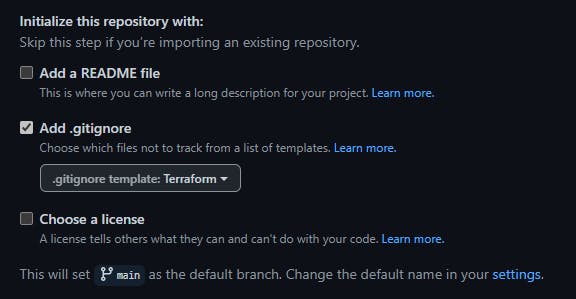
The final fields to complete is the selection files to be created as part of the repository. I decided to use Terraform to deploy the infrastructure, so I selected the Add .gitignore option and from the dropdown selected Terraform to provide me with a basic template on files to ignore for commits.
Now I am ready, so I selected the Create repository button to complete the creation.

Whats next
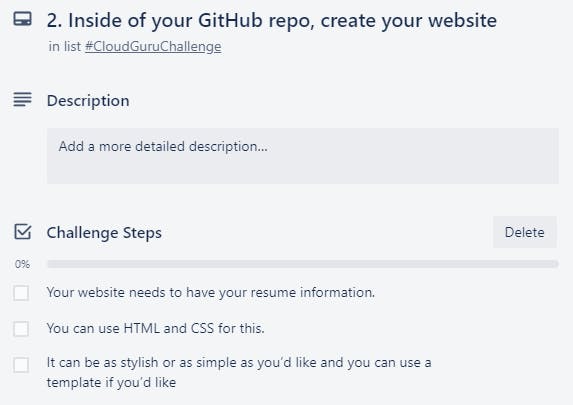
The next step is to create the website which I will use the recommended resources to create a template and then fill in the details about me.